

I learned early on that the right kitchen tool can save your morning—or ruin it. I still remember mixing a protein shake at dawn in my old garage in Ohio. Cold air, loud motor, half-awake me. I forgot the lid. It went everywhere. Walls. Floor. Even on my boots. That day pushed me to get better with blenders. So this guide is my full, hands-on take on how to use, clean, and disassemble a blender (beginner-friendly guide) in simple steps anyone can follow.
This works whether you’re blending in a humid Florida kitchen, a dry Arizona workshop, or a tiny apartment with a shaky counter.
Understanding Your Blender’s Basic Parts
Before we dive in, here’s a quick warm-up so the pieces make sense.
Most blenders have simple parts. I like to get a feel for each one before using it.
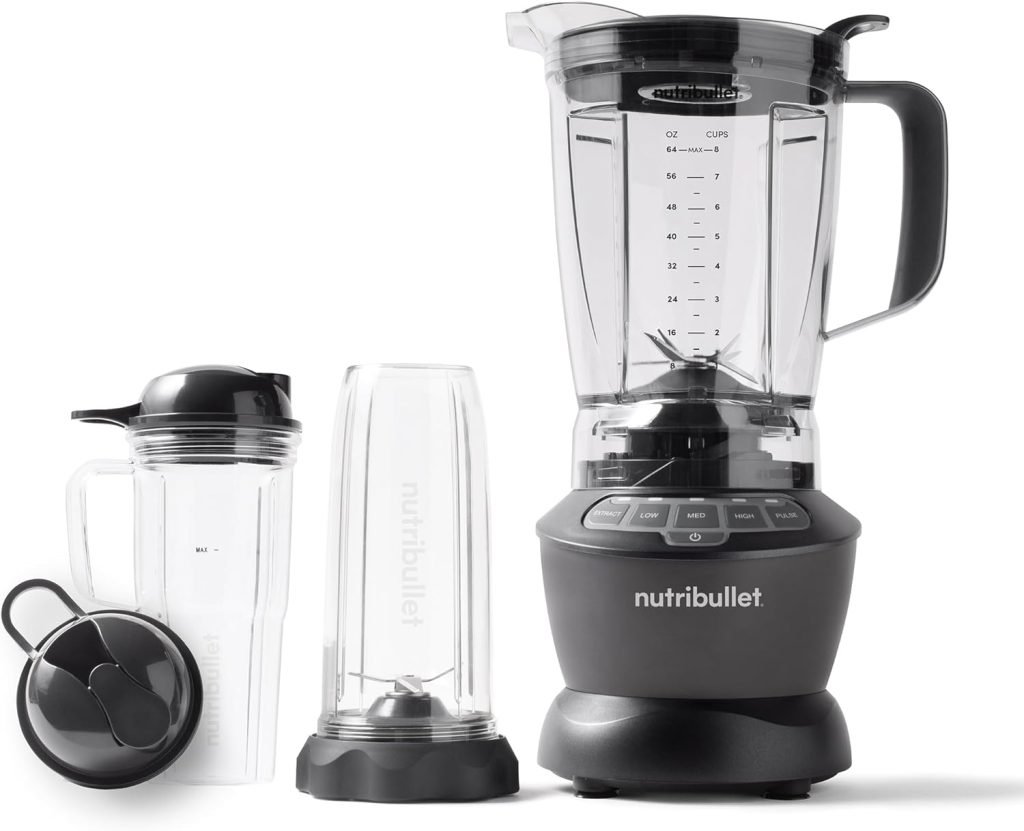
- Motor base — the heavy part that stays put
- Pitcher or jar — glass or plastic, each with its own feel
- Blade assembly — sharp but light
- Lid and insert cap — keeps splashes inside
- Gaskets or seals — stop leaks
- Control buttons or dial — low, high, pulse, and maybe presets
How to Use a Blender the Right Way
What you do before pressing any button matters more than the button itself. I learned that after a smoothie blew open on a Monday at 6 a.m.
Step-by-Step Basics
I keep these steps short because they work anywhere.
- Set the base on a flat surface
- Add liquids first, then solids so the blades grab fast
- Leave a bit of space at the top
- Push the lid down until it feels snug
- Start low, then go higher when it sounds steady
Common U.S. Use Cases
I’ve used blenders in many places. Each day feels different.
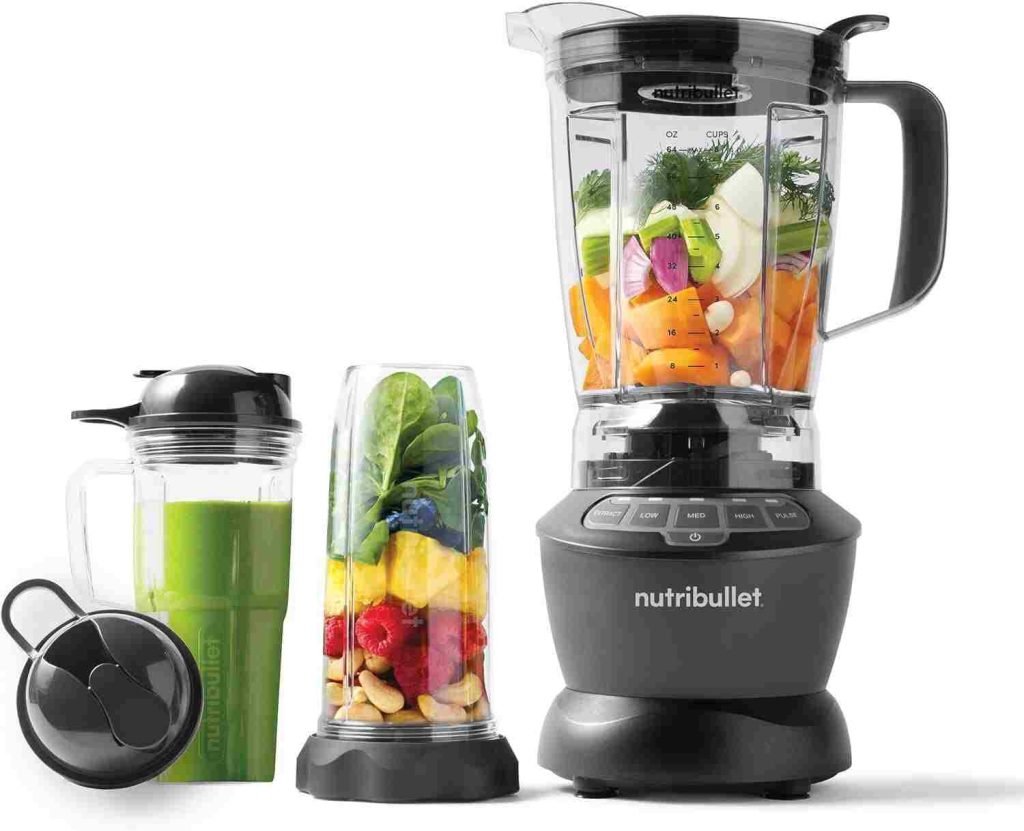
- Morning smoothies before a long commute
- Salsa for a backyard BBQ with friends
- Hot soup blends on cold Chicago nights
How to Start and Operate a Blender Safely
Every blender feels a bit different, but they all follow the same rhythm.
Buttons and What They Actually Mean
I like to think of these as simple “gears.”
- Pulse — short bursts for chunky mixes
- Low — dressings, thin sauces, soft foods
- High — smoothies, ice, frozen fruit
Little Sensory Clues
Listen, smell, feel. These signs help.
- A high whine means the jar is too empty
- A rattle means food is stuck
- A burnt smell means overheating—stop right away
How to Clean a Blender the Easy Way
Scrubbing dried smoothie off blades is awful. So I learned the fast way.
Fast 30-Second Cleaning Trick
This works almost every time.
- Warm water halfway
- Drop of dish soap
- Blend for 10 to 15 seconds
- Rinse and let it dry
Deep Cleaning for Sticky or Smelly Jobs
If peanut butter or garlic is stuck, I do this.
- Warm water + baking soda
- Let it sit
- Soft brush scrub
- Rinse well
Cleaning the Blender Base Without Damaging It
The base hates water. Treat it like a phone near the sink.
Safe Cleaning Steps
- Unplug it
- Wipe with a damp cloth
- Use a toothbrush around buttons
- Dry with a towel
Avoid These Mistakes
- Do not submerge
- No abrasive pads
- No spraying cleaner right onto the base
How to Remove and Clean Blender Blades
Blades look harmless until your hand slips at 7 a.m., so be gentle.
How to Remove the Blade Assembly
- Flip the jar
- Twist the blade collar left
- Lift the blade from the dull edges
Best Way to Clean Blades
- Use a soft brush
- Soak in warm soapy water
- Rinse and dry so they don’t rust
If the Blades Are Stuck
- Use a jar gripper
- Warm the threads to loosen dried food
How to Clean the Pitcher/Jar Thoroughly
Plastic holds smells. Glass feels heavier but stays clean longer.
Odor Fixes
- Lemon + baking soda soak
- Vinegar rinse
Removing Cloudiness
- Vinegar soak for 30 minutes
- Soft scrub with baking soda
How to Disassemble a Blender for Deep Cleaning
You don’t need to take everything apart often—maybe once a month or after peanut butter night.
Typical Steps
- Remove lid parts
- Detach the jar
- Unscrew blade assembly
- Take off seals
- Wash each part
When to Avoid Full Disassembly
- If the maker warns against it
- If parts feel stuck—forcing can break them
How Much You Can Expect to Pay for a Blender
Prices swing fast. Some blend fine. Some could crush a brick.
U.S. Price Ranges
- Budget: $20–$40
- Mid-range: $60–$120
- High-power models: $200–$500+
What Affects Cost
- Motor power
- Blade strength
- Jar material
- Extra features like presets or noise control
FAQs
1. What is the easiest way to use a blender as a beginner?
Start with liquids, then add soft food, then blend on low. This keeps things smooth and clean. It also helps new users learn how to use a blender with ease.
2. How do I clean a blender fast after making a drink?
Add warm water and soap, then run the blender for a short spin. It cleans most messes fast. It also saves time when you are in a rush.
3. How can I take apart a blender safely?
Unplug it, remove the jar, and twist off the blade base. Keep your hands clear of sharp edges. These simple steps help you disassemble a blender with no stress.
4. Why does my blender smell burnt during use?
A burnt smell means the motor is hot or food is stuck. Stop the blender and let it cool. It helps protect the motor and keeps your blends safe.
5. What should I avoid when cleaning the blender base?
Do not soak the base or spray it with water. Use a damp cloth only. This keeps the motor dry and helps your blender last longer.
When you purchase a product through Amazon links on kitchinprep.com, we may earn a small commission at no extra cost to you. We may earn a commission on qualifying purchases made through our links, including those from Amazon and other partners, at no extra cost to you.

Kris S. Cary is the founder of KitchinPrep.com and a passionate kitchen enthusiast with over three years of experience in the culinary world. A graduate of the Culinary Management, A.S. program at Daytona State College in Daytona Beach, USA, Kris spent two years honing their skills and deepening their love for cooking and kitchen essentials. Specializing in kitchen baking tools, Kris is dedicated to sharing practical tips, insightful product reviews, and expert guides to help home cooks elevate their baking and cooking game. When not testing the latest kitchen gadgets, Kris is likely whipping up something delicious or dreaming up new ways to inspire culinary creativity.